
This is the last blog on this site. This site is now in archive mode.
I have created 2 new blog sites, first one is purely non-professional https://saisa.eu/blogs/loose_ends/ and second one is professional https://saisa.eu/blogs/selected_notes . The professional site is restricted at the moment, but might later change (no secrets on that site, just notes of general knowledge).
2 new sites
Posted in Uncategorized
Comments Off on 2 new sites
Moving to My Simple Blog
I’m changing the approach and scope of the blogging, and managed to move the content of this site into new blog site called My Simple Blog. I will keep this Guidance site, until knowing that the content is available a the new site…
Posted in Uncategorized
Comments Off on Moving to My Simple Blog
Tip, upgrading (and fixing) older laptop/computer
One can improve the performance by adding more memory and by replacing the disk drive into a faster one. One does not have to be a specialist to be able to perform these activities, but these activities do require that person is familiar with computer hardware and can understand the steps and perform some troubleshooting (when needed).
As with any major activity, it is higly recommended that the data has been backed up before doing this activities. In this blog, only some alternatives are shown. Please see references for more information and options. In the most activites in this blog, your files nor programs are not kept (and are lost in the process) and one have to restore those separately. The only exception is the alternative B, where a clone is created.
The table below show the different options when upgrading from HDD into SSD.
| Activity | Alternatives | Steps |
|---|---|---|
| Adding memory | One can either add or one might need to replace the memory | 1. use HWiNFO or similar software to figure out the type of memory and number of memory slots |
| upgrade the storage drive from HDD into SSD |
Alternative A: |
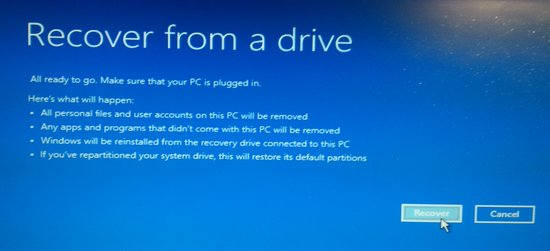
1. create recovery USB by using recovery method (create a recovery drive) |
| upgrade the storage drive from HDD into SSD |
Alternative B: |
1. created a drive copy from HDD nto SSD by using capable software like EaseUS Todo Backup Free 2. replace HDD with SSD 3. start the computer with SSD (which is the clone of HDD) |
| upgrade the storage drive from HDD into SSD |
Alternatives C: |
1. make sure you have the installation media |
Note: If this operation is done on a desktop computer, then one might need a physical adapter to connect 2.5″ drive into 3.5″ slot. It is assumed that the desktop has a SATA connector to connect the SSD.
Option A Recovery drive
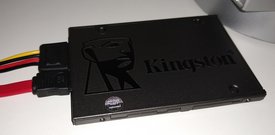
Option B clone the drive
In order to do the cloning from HDD into SSD, one needs a device to connect the SSD into USB, called “USB SATA adapter” or “SATA to USB cable”. (Both the HDD and SSD nowadays have the SATA connector)
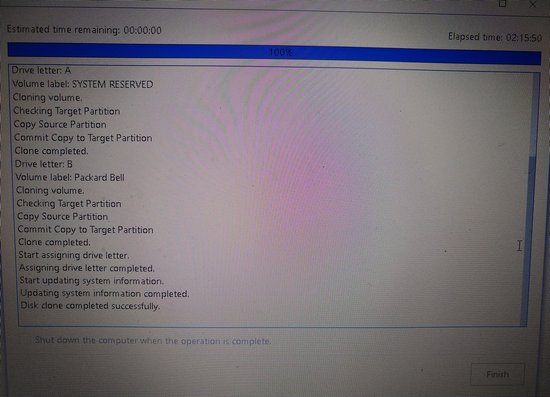
The figure below is a screenshot when cloning the smaller HDD into a bigger SSD.
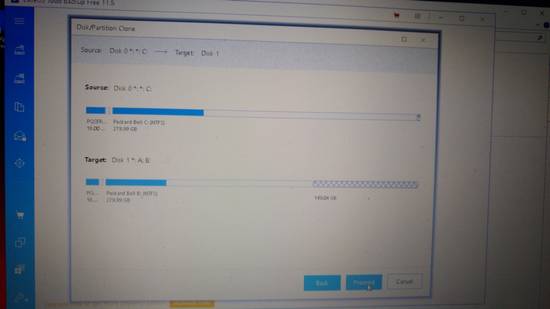
If the SATA-USB adapter is supporting USB2 only, then it might take quite some time (see below).
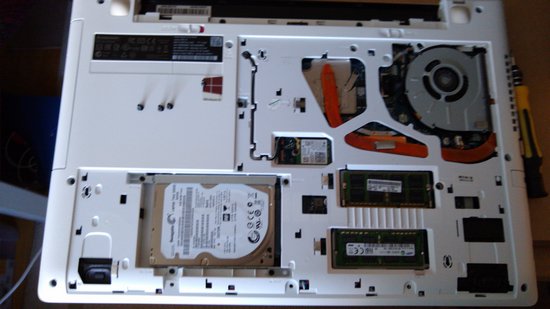
The picture below shows the HDD on bottom left and memory cards beside the HDD on the right in a lenovo laptop. This is an easy access and easy to perform upgrade…
In case of a Packard bell laptop, the access is similarly an easy access, please see below.

Option C fresh install on SSD
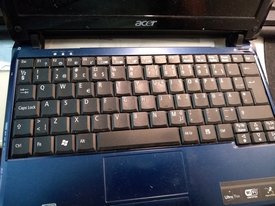
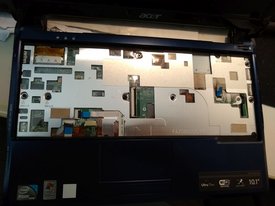
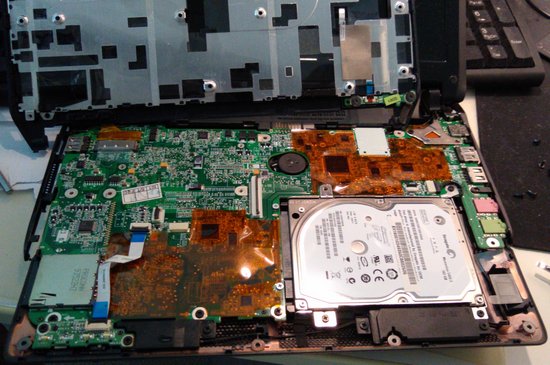
For a very old laptop, the linux migth be an alternative. The challenge with Acer Aspire One is that the HDD is quite well hidden, and there is no straight forward access. One need to remove the keyboard, undo the screws at the bottom and remove the top cover, and only then the HDD is accessable (see pictures below).
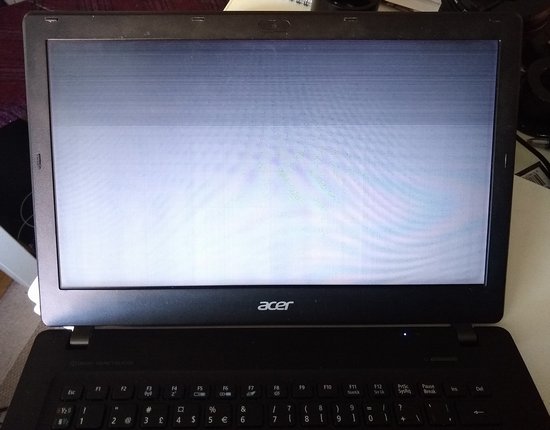
Replace (fix) a laptop screen
There are several videos available on how to replace the screen, and the procedure is very mich dependent on the manufacturer. In case of Acer Aspire V3, the replacement is straigtforward as only the screen part is being oeprated. In the picture below it shows how the screen looked after booting. As part of troubleshooting, one could verify that one can see the real screen in an external monitor 🙂
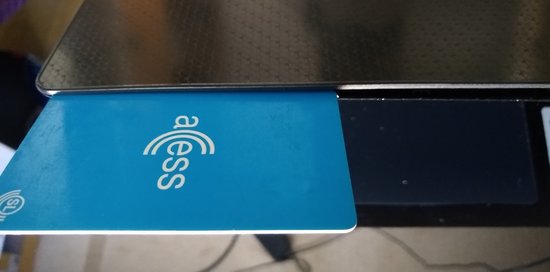
The first steps is to release the front frame (see below)
After that the screen could be released by removing 4 screws and disconnecting the cable. It is only now, when one can hopefully see the real product number that was placed on this laptop.
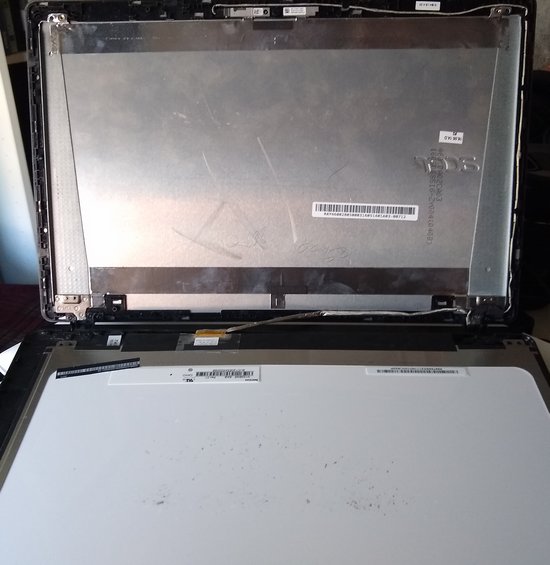
There are several sites which sell the screens and one can find the screen replacement by knowing the laptop model. (However, it is safer to verify that there is match with the one on the laptop before buying the replacement…)
References
Posted in DIY, Hobbies and Other Interests, Recommended Free Tools, Tips, Tools, Troubleshooting
Tagged BlogDesk
Comments Off on Tip, upgrading (and fixing) older laptop/computer
Air turbulence is clearly visible on full moon video close to horizon
This is my first video from the second hand skywatcher maksutov 150/1800 telescope, which I bought. This OTA (Optical Tube Assembly) came with an old Celestron AS-GT (CG-5) mount. For the moon photo, I used a manual skywatcher EQ5 mount…
The moon was about 12 degrees above horizon, and with this maksutov and with a 2x teleconverter one can clearly see the air turbulence… The screen size of video below is 25% of the original to reduce the size of the file.
Posted in Camera and telescope, For Fun or Interest, Hobbies and Other Interests
Comments Off on Air turbulence is clearly visible on full moon video close to horizon
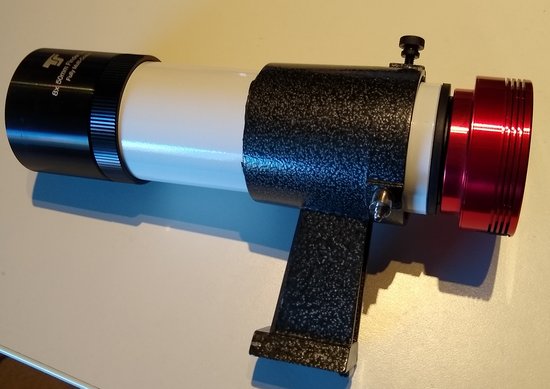
DIY CCD camera to Finder scope adapter
I bought a second hand telescope which came with a CCD camera ASI120MC and I will try to use this camera for autoguiding by adapting it to an old finder scope .
I managed to get a 50/30mm rubber adapter from local hardware store, and tried if that fits. The picture below shows the 8×50 finder scope after unscrewing the 2 back pieces out from it. Under these 2 pieces one can see also the 50/30 rubber adapter.
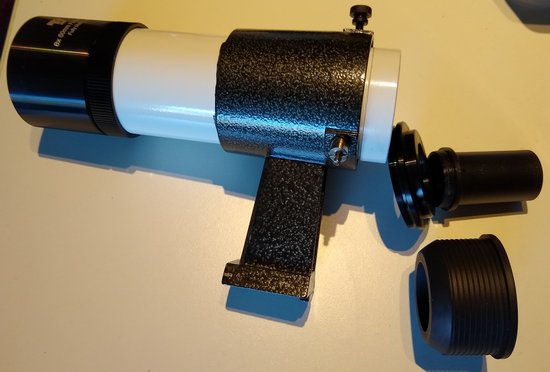
Luckily this worked! The connection is very tight, and one have to be carefull when using the force.It is better to connect first the rubber adapter and then the CCD adapter, and CCD as the last one. The final focus adjustment can be done with the front (objective) lens, because there is a separate locking ring (left in the photo).
This setup should work with moderate focal lengths. I have telescopes with 500, 900, 1200 and with 1800mm focal lengths and I think this will work at least with the first 3 ones.
I have not use autoguiding before, so let’s see how this will turn out… (There are good software alternatives, eg. Open PHD guiding .)
Posted in Camera and telescope, DIY, For Fun or Interest, Gadgets, Hobbies and Other Interests, Tips, Tools
Comments Off on DIY CCD camera to Finder scope adapter
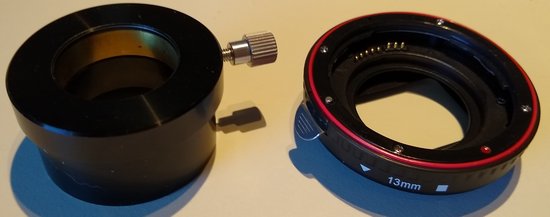
DIY eyepiece to EOS lens adapter
For some time I have been thinking if it is possible to re-use the camera lenses for something else, or with some other camera/detector. And I found some plastic adapters which one could print with 3D printer, eg. this.
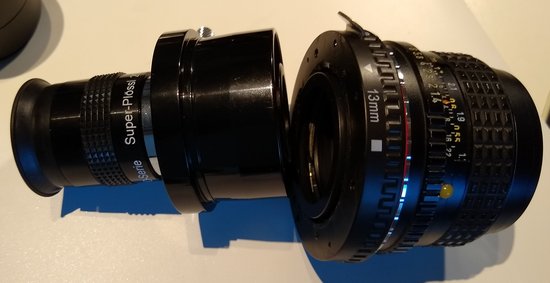
As I happen to have an unused erecting eyepiece from telescope, and also other camera and telescope accessories, then I wanted to try if one could re-use the existing pieces. After some trial and error, the final adapter can be made from the following 2 pieces: telescope eyepiece 1.25″ to 2″-adapter on the left and 13mm extention ring on the right (for EF lenses).
In order to make this to work, the plastic 13mm extention will need to be permanently modified by removing the metal pins and by cutting the extra plastic out. The plastic was cut out on the bottom side in the picture above. This reduced the thickness of the 13mm adapter and gave better fit as the eyepiece adapter (50mm) fits over the plastic part of the extention ring, see picture below.
In the final setup, the end of the eyepiece comes very close (see photo below) and causing worries that what if the lens would come too close and get damaged. Depending on the setup, one could consider to use a teleconverter in between because it has no moving parts and would prevent any damage to the lens itself…
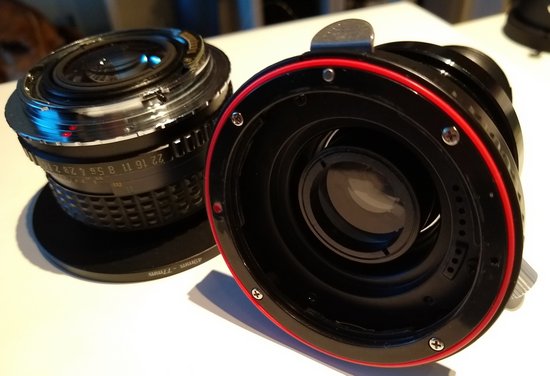
Why to use erecting eyepiece? For visual usage, when the erecting eyepiece is used with this adapter, then the picture is visible “as normal”. But if one is using typical telescope eyepiece, then the picture would be upside down. If one uses this with webcam or with CCD, then would not matter…
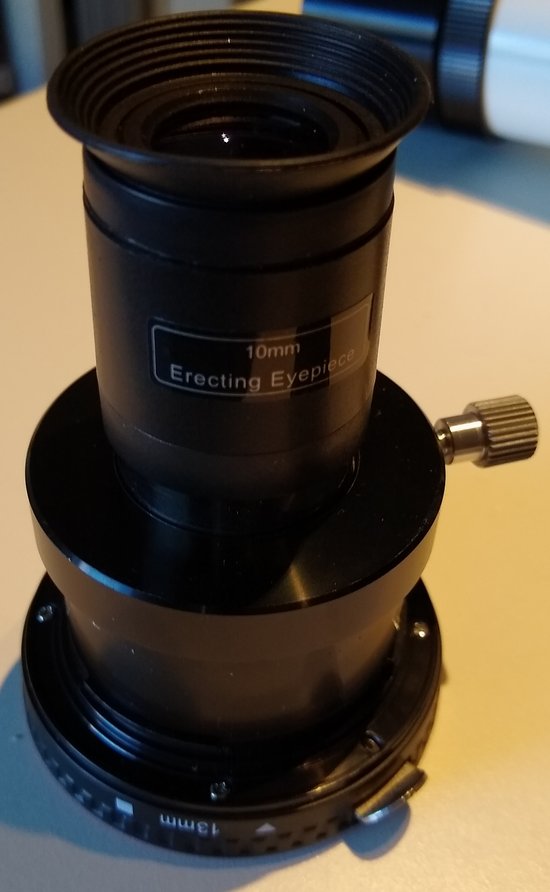
When this 10mm eyepiece is used with 50mm lens, it gives 5 times magnification. Since this 50mm camera lens (in pictures) has f1.4, then this might provide a lot of light at night sky…
Posted in Camera and telescope, DIY, For Fun or Interest, Gadgets, Hobbies and Other Interests, Tests, Tools
Comments Off on DIY eyepiece to EOS lens adapter
Discussion topic, short definition for security?
If you would need to explain security in an easy way, how would you define it? I came up with 2 definitions.
What is security?
- “Trying to influence people to take right decisions on complex things while using layman’s terms”
- “It is about getting ready for the bad things”
Any other ideas?
Posted in Security, Security Management, Security Training, Awareness and Reports
Comments Off on Discussion topic, short definition for security?