
One can improve the performance by adding more memory and by replacing the disk drive into a faster one. One does not have to be a specialist to be able to perform these activities, but these activities do require that person is familiar with computer hardware and can understand the steps and perform some troubleshooting (when needed).
As with any major activity, it is higly recommended that the data has been backed up before doing this activities. In this blog, only some alternatives are shown. Please see references for more information and options. In the most activites in this blog, your files nor programs are not kept (and are lost in the process) and one have to restore those separately. The only exception is the alternative B, where a clone is created.
The table below show the different options when upgrading from HDD into SSD.
| Activity | Alternatives | Steps |
|---|---|---|
| Adding memory | One can either add or one might need to replace the memory | 1. use HWiNFO or similar software to figure out the type of memory and number of memory slots |
| upgrade the storage drive from HDD into SSD |
Alternative A: |
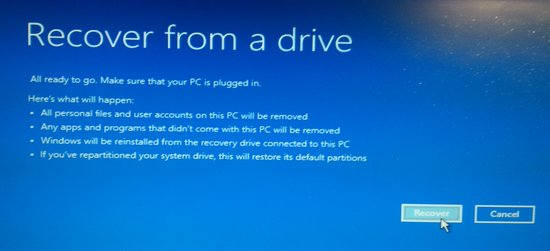
1. create recovery USB by using recovery method (create a recovery drive) |
| upgrade the storage drive from HDD into SSD |
Alternative B: |
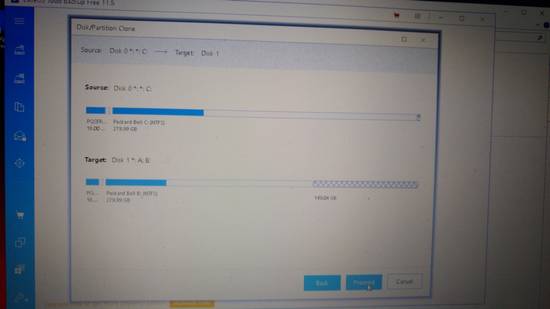
1. created a drive copy from HDD nto SSD by using capable software like EaseUS Todo Backup Free 2. replace HDD with SSD 3. start the computer with SSD (which is the clone of HDD) |
| upgrade the storage drive from HDD into SSD |
Alternatives C: |
1. make sure you have the installation media |
Note: If this operation is done on a desktop computer, then one might need a physical adapter to connect 2.5″ drive into 3.5″ slot. It is assumed that the desktop has a SATA connector to connect the SSD.
Option A Recovery drive
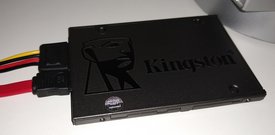
Option B clone the drive
In order to do the cloning from HDD into SSD, one needs a device to connect the SSD into USB, called “USB SATA adapter” or “SATA to USB cable”. (Both the HDD and SSD nowadays have the SATA connector)
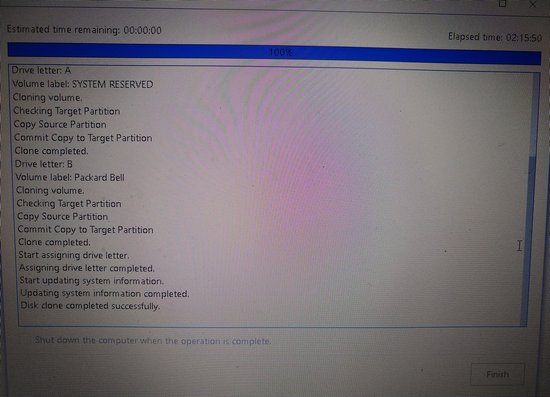
The figure below is a screenshot when cloning the smaller HDD into a bigger SSD.
If the SATA-USB adapter is supporting USB2 only, then it might take quite some time (see below).
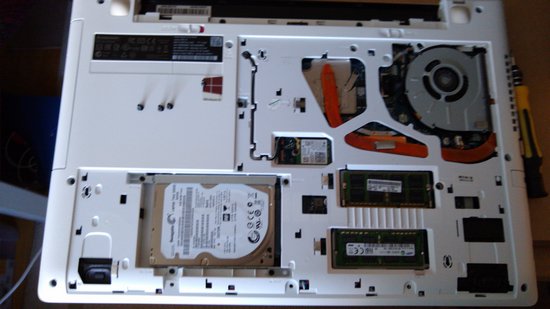
The picture below shows the HDD on bottom left and memory cards beside the HDD on the right in a lenovo laptop. This is an easy access and easy to perform upgrade…
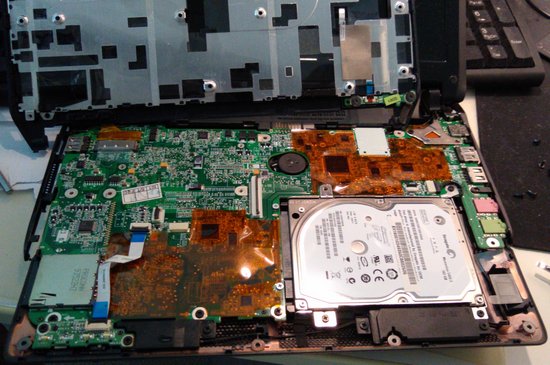
In case of a Packard bell laptop, the access is similarly an easy access, please see below.

Option C fresh install on SSD
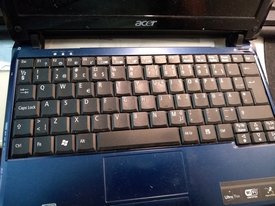
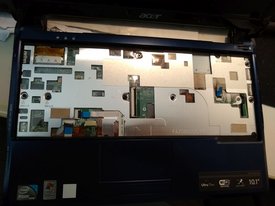
For a very old laptop, the linux migth be an alternative. The challenge with Acer Aspire One is that the HDD is quite well hidden, and there is no straight forward access. One need to remove the keyboard, undo the screws at the bottom and remove the top cover, and only then the HDD is accessable (see pictures below).
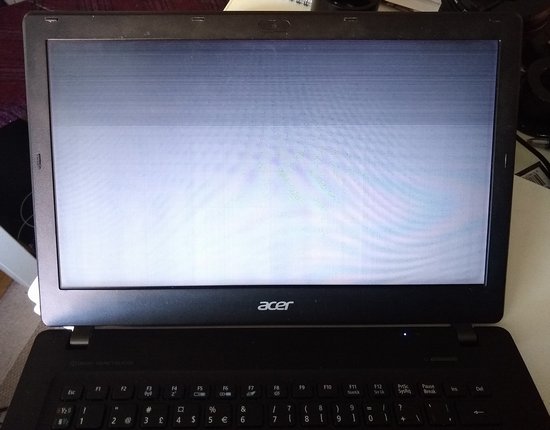
Replace (fix) a laptop screen
There are several videos available on how to replace the screen, and the procedure is very mich dependent on the manufacturer. In case of Acer Aspire V3, the replacement is straigtforward as only the screen part is being oeprated. In the picture below it shows how the screen looked after booting. As part of troubleshooting, one could verify that one can see the real screen in an external monitor 🙂
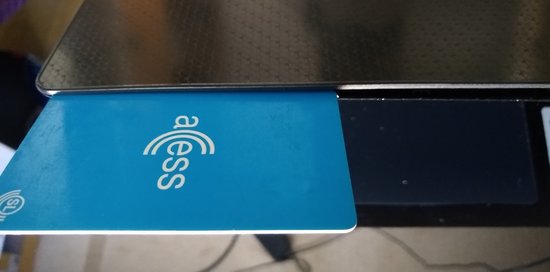
The first steps is to release the front frame (see below)
After that the screen could be released by removing 4 screws and disconnecting the cable. It is only now, when one can hopefully see the real product number that was placed on this laptop.
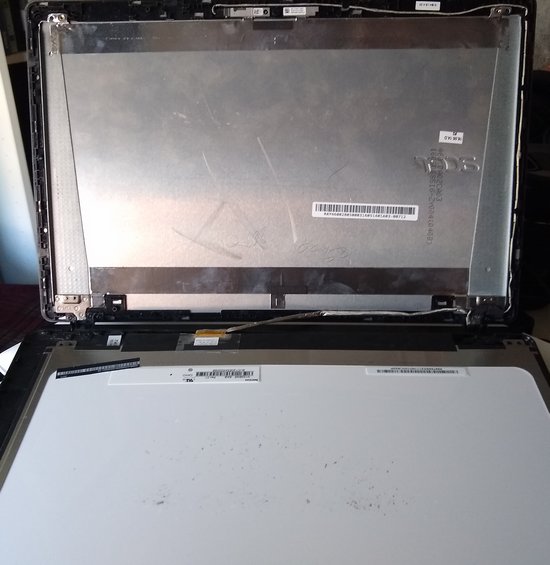
There are several sites which sell the screens and one can find the screen replacement by knowing the laptop model. (However, it is safer to verify that there is match with the one on the laptop before buying the replacement…)
References