
I happened to have 2 broken gadgets: a webcam with broken optics but with working sensor, and a digital pocket camera with working optics but with broken electricity. The question was that what happens when changing the optics of the webcam? Can you make DIY (Do It Yourself) microscope?
Needed parts:
- webcam
- additional lens(es)
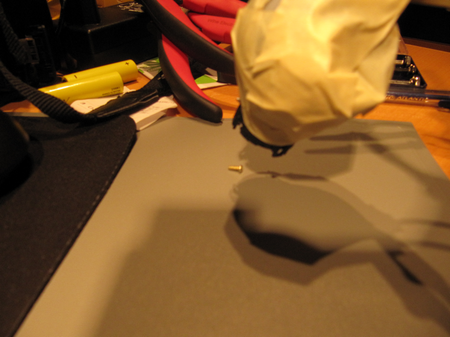
The parts used in this test: logitech webcam which was missing lens, and 2 lenses from olympus digital camera. The 2 magnifying lenses in the olympus original optic’s frame were fixed as close as possible to webcam sensor. (Other frame components and 1 lens were not used).
The result was not pretty, since I did not have suitable glue available, see below…
Calibration
The scales are used to get an estimation on the total viewable area and the scale. The viewable area is almost 4x3mm. The webcam has picture size 640×480 pixels.
The focus distance is about 30 mm.

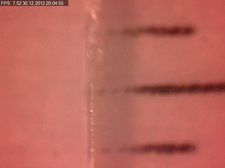
Webcam Screenshot
A support stand was used to keep the webcam steady at fixed distance above table. The focus area is very small, and small changes in positions have big impact on which part is being focussed.

Comparison with digital camera macro
The photo below is taken with Canon Powershot SX200 in super macro mode.

Links
- Basics in light microscopy
- Simple Super-Macro/Microscope Webcam Conversion
- How to Make a Mini Microscope
- DIY microscopy
Summary
While it is possible to make DIY microscope with webcam, it is good to consider the possible support system in order to control the focus.
And perhaps this DIY is not at the same level as cheapest USB microscopes, but doing it can be fun 🙂