Cryptocurrency (wikipedia):
A cryptocurrency is a type of digital currency that relies on cryptography
Cryptocurrencies are peer-to-peer and decentralized, and are currently all based on the first cryptocurrency, Bitcoin.
Cryptocurrencies are designed to ensure that funds can neither be frozen nor seized.Examples:
SHA-256 based: Bitcoin, Namecoin, PPCoin, Terracoin
Scrypt based: Litecoin, Novacoin, Feathercoin
What is bitcoin
- Bitcoin Explained (3:30min)
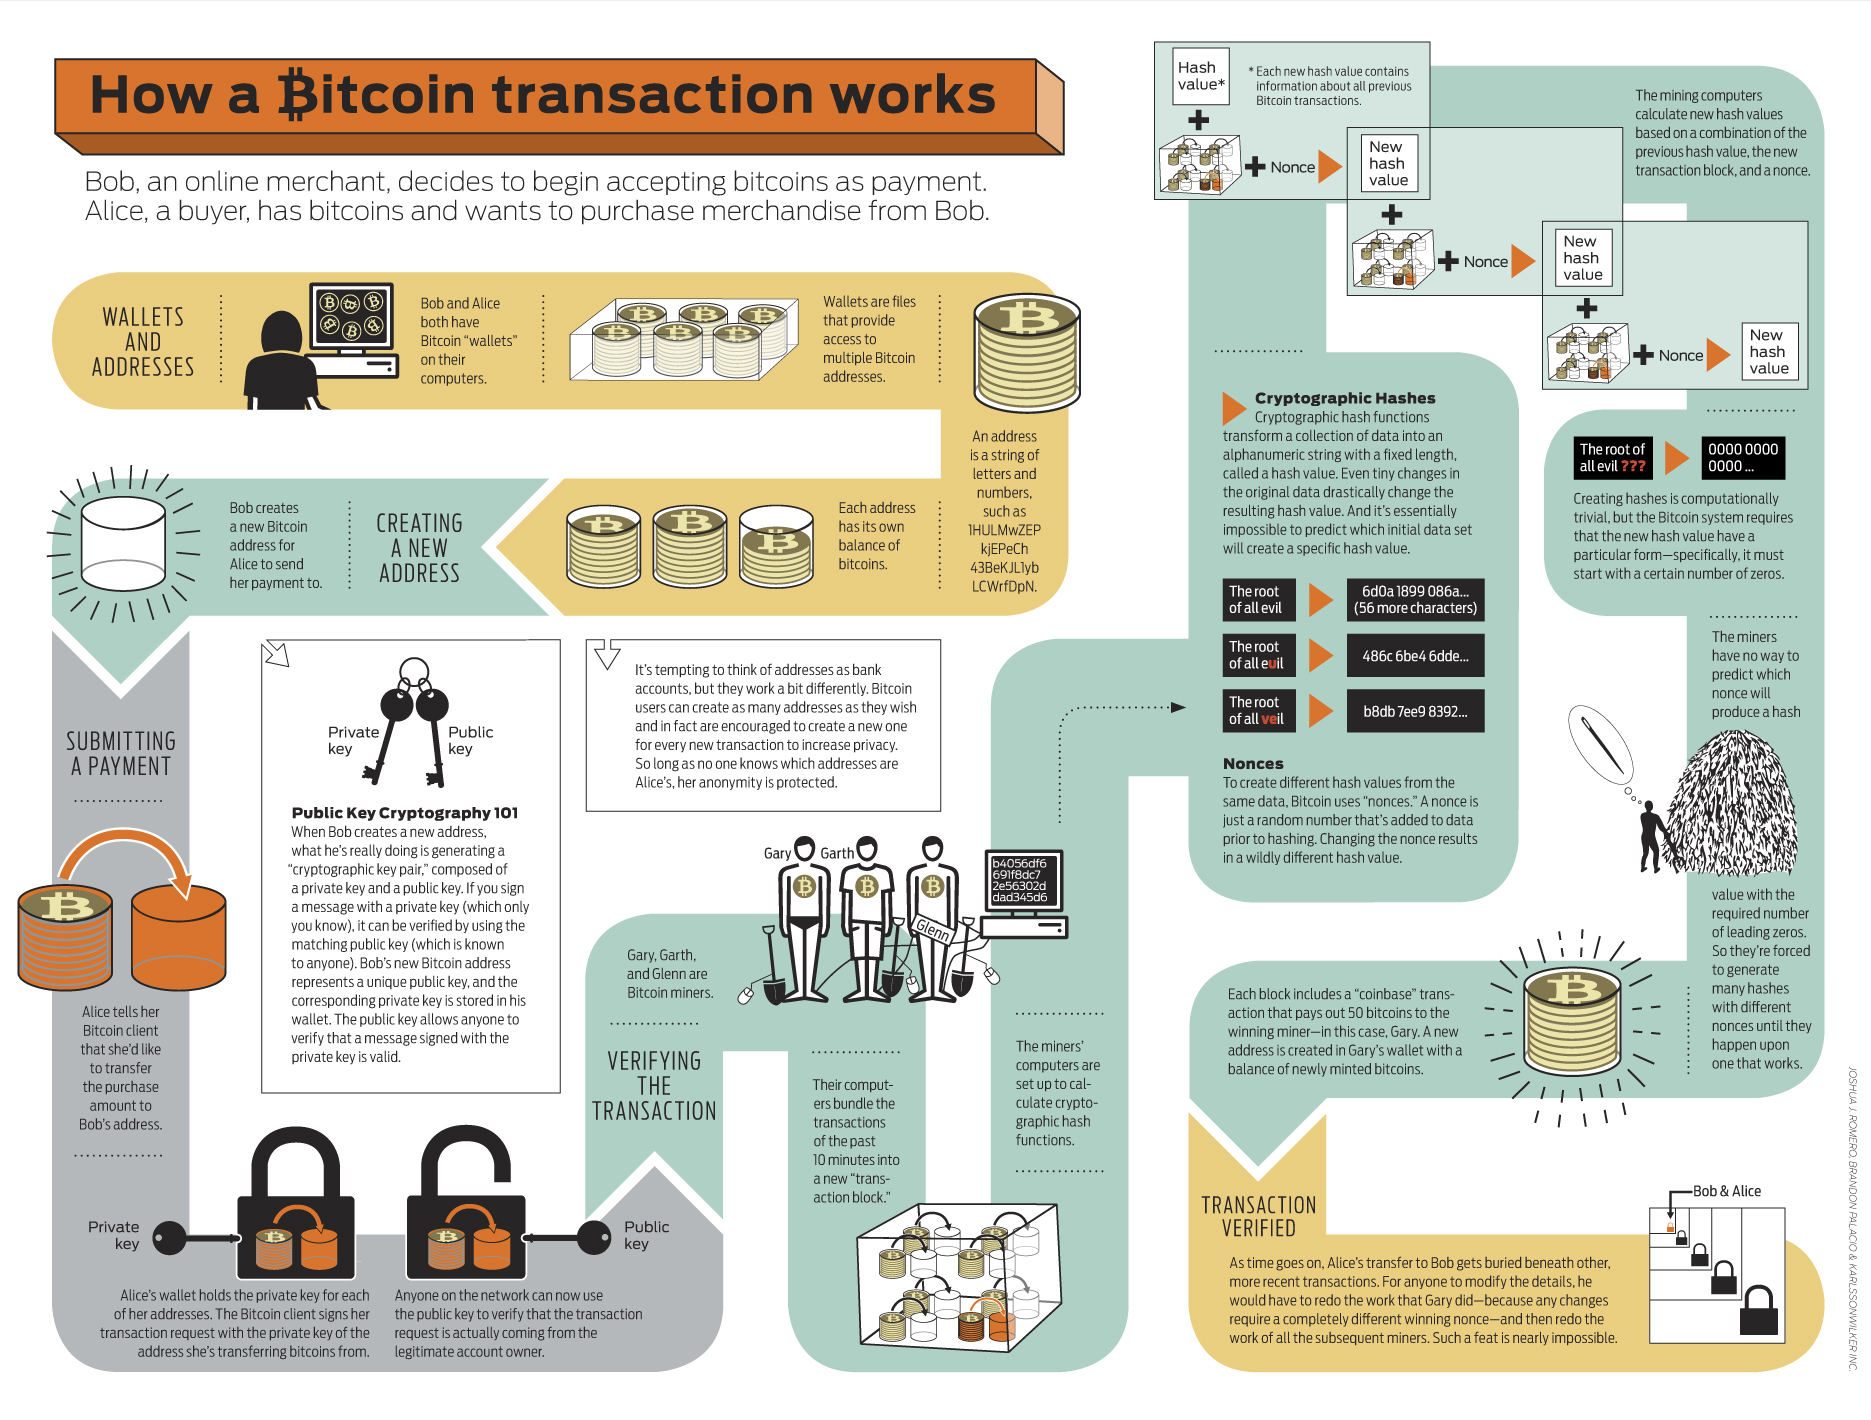
The following bitcoin infographic is a good overview presentation of a transaction.
- Another infographic worth to look.
Charts and information about bitcoin status
Tools to look transactions
- Bitcoin Block Explorer (online)
- Blockchain (online)
- wireshark
Threats
- Network status and alerts
- Design and security analysis of Bitcoin infrastructure
- Algorithms security analysis
- Network security analysis
- Applications security analysis
- Weaknesses
- McAfee: Bitcoin Miners Use AutoIt-Complied Programs With Antianalysis Code
- McAfee: Delving Deeply Into a Bitcoin Botnet
- Symantec: Bitcoins Still a Hot Security Topic
- TrendMicro: Cybercriminals Unleash Bitcoin-Mining Malware
- Botcoin: Bitcoin Mining by Botnet
- Analysis of the Cryptocurrency Marketplace
- Gone With The Cloud – Bitcoinica Made No DB Backups
Technical Details
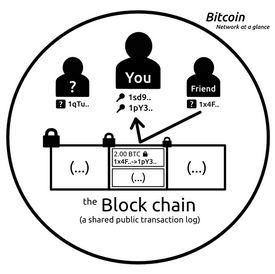
- Transactions are chained into block chain. (more about transactions)
- Protocol details
- Source code, for example the transaction fee
- Client API
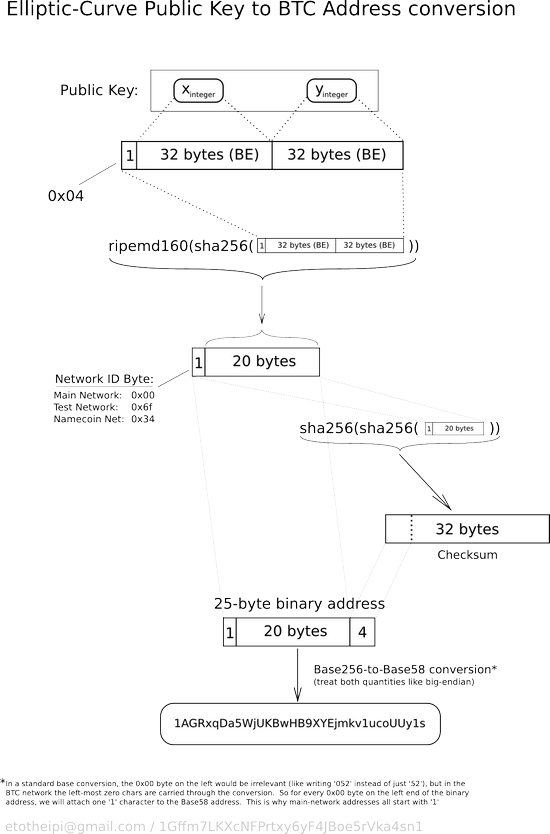
- Sending raw transaction, or calculating bitcoin address from private key
- Another online transaction sending tool
- About mining
- including video (2min)
- List of Mining pools
- Online tool
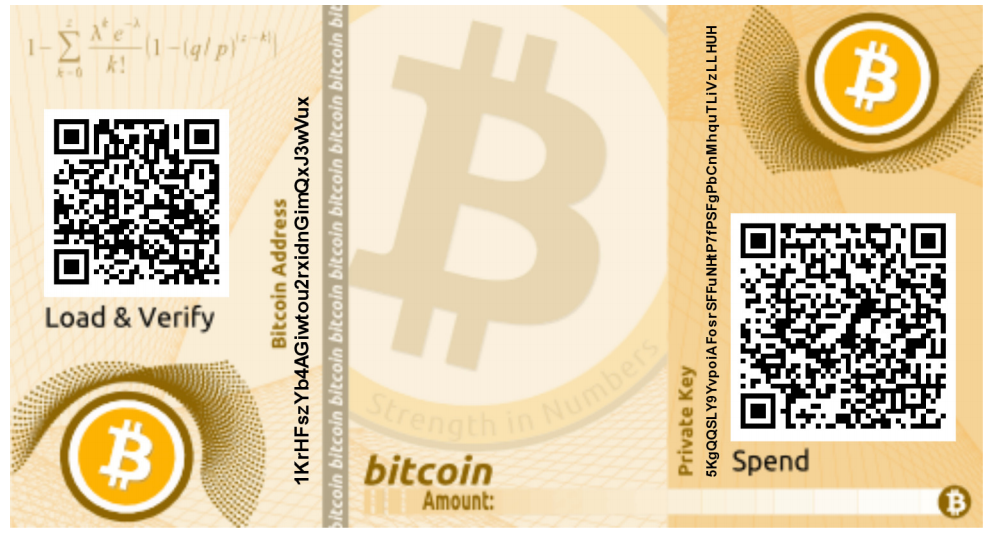
- for generating private key and address for offine use
- for calculating bitcoin address from private key
News around bitcoin
-
-
including link to FBI report from 2012
-
Advice: There is risk of loosing your bitcoins, no matter if they are online or not. Even if the probability of this might be low, the impact might not be. Therefore keep or transact only amounts which you can afford to loose. (See threats section above for more details)