
I got B+ model of the Raspberry Pi as christmas gift. Then I saw the size of the camera module, and I just had to go and buy one. I have been testing different webcam and digital camera setups with my telescope, and this camera module seemed very promising.
My goal is simple: take a photo on what you see through the eyepiece.
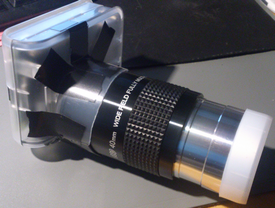
It is using Afocal photography, where the camera is mounted over the eyepiece of an optical telescope, with the camera lens taking the place of the human eye.
Unfortunately the wheather has not been suitable for taking sky photos, so I did first quick tests through a window (there might be some artifacts in the photos).
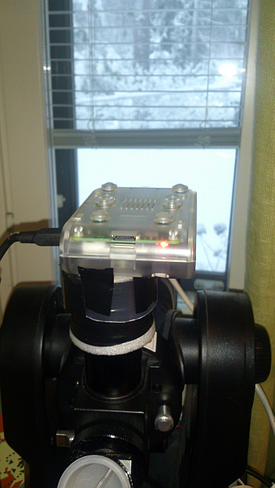
The picture below shows the camera support on top of the 1.25″ eyepiece. Only the power and LAN cables are connected to the Raspberry Pi.
Camera details
From Rpi Camera Module
-
Sensor type: OmniVision OV5647Color CMOS QSXGA (5-megapixel)
-
Up to 90 fps Video at VGA
-
applications:
-
-
RaspiVid
-
-
creates H264 videos
-
-
RaspiStill
-
-
can create PNG and raw images
-
-
Pi Vision
-
-
a GUI based controller
-
-
picamera
-
-
a Python library
-
-
From Raspberry Pi Camera Module – Part 1
-
with link to camera’s data sheet
-
Dimensions: 25mm x 20mm x 9mm
-
Weight: 3g
-
Sensor size: 3.67 x 2.74 mm
-
Pixel count: 2592 x 1944
-
Lens: f=3.6 mm, f/2.9
-
Angle of View: 54 x 41 degrees
From Camera module manual page, raspicam commands
- raspistill
-
- Capturing still photographs with the camera module
- raspivid
-
- Capturing video with the camera module
- Time-lapse
-
- Taking pictures at regular intervals and stitching them together in to a video
- raspiyuv
-
- Capturing still photographs and generating raw unprocessed image files
Setting Up
Create a bootable image on microSD. I used raspbian (Debian Linux) from downloads page. The instructions as also on that same page. Instructions for windows are here.
Connect keyboard, mouse, LAN cable, and HDMI->VGA converter before connecting the power cable.
Raspberry PI basics
Login: Use userid pi and password raspberry
To turn the power off, use command sudo poweroff
Raspberry PI tuning
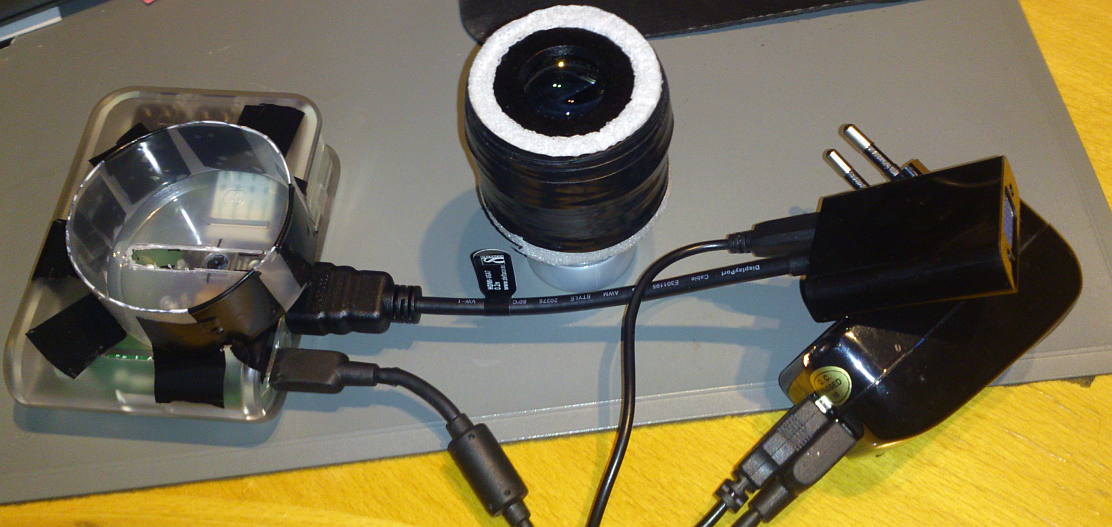
One of the most important file is /boot/config.txt. The HDMI settings are defined there, so it is the first place to modify in order to get the display working. (Unless you have a monitor with HDMI.) The parameters are explained here. I used a HDMI-to-VGA converter as shown in the picture below. The same power source (max 2A) is used to provide power to Raspberry Pi and the converter. The photo also shows the 1.25″ zoom eyepiece modified to fit the camera. The camera is visible on the left, under the proof-of-concept mechanical support for the 2″ eyepiece.
In order to get the VGA monitor to work, I defined the following lines
hdmi_force_hotplug=1
hdmi_group=2
hdmi_mode=16
In order to turn off the camera light, add the line disable_camera_led=1
One need to activate the camera and ssh access by using command sudo raspi-config
After modifications, one need to reboot by command sudo reboot
Using Desktop GUI with Raspberry PI
One can use command startx if having a monitor connected to HDMI and you are using RPI locally.
One can use command lxsession if connecting over the network. I used Xming (with one window) and putty (ssh with XForwarding) on Windows. (DISPLAY and Xauth is taken care by putty). Alternative command openbox-session worked also.
H264 videos can be converted with VLC. One can use WinSCP for transferring the picture and video files to Windows.
Testing with Pi-Camera GUI tool
One can follow example instructions here.
sudo apt-get install python3-setuptools
sudo easy_install3 picamera
Download python3 and Tk based GUI tool CamInterfacev1p0p0.py, and run it with command python3 CamInterfacev1p0p0.py
I used this tool over the network to find a suitable camera position, and to mimimize vignetting.
Testing with PiVision GUI tool
One can find the instructions for download and usage here. Please note that there is no need to install FPC or Lazarus.
One can also use the command chmod u+x rpiCC to change the extracted file into executable.
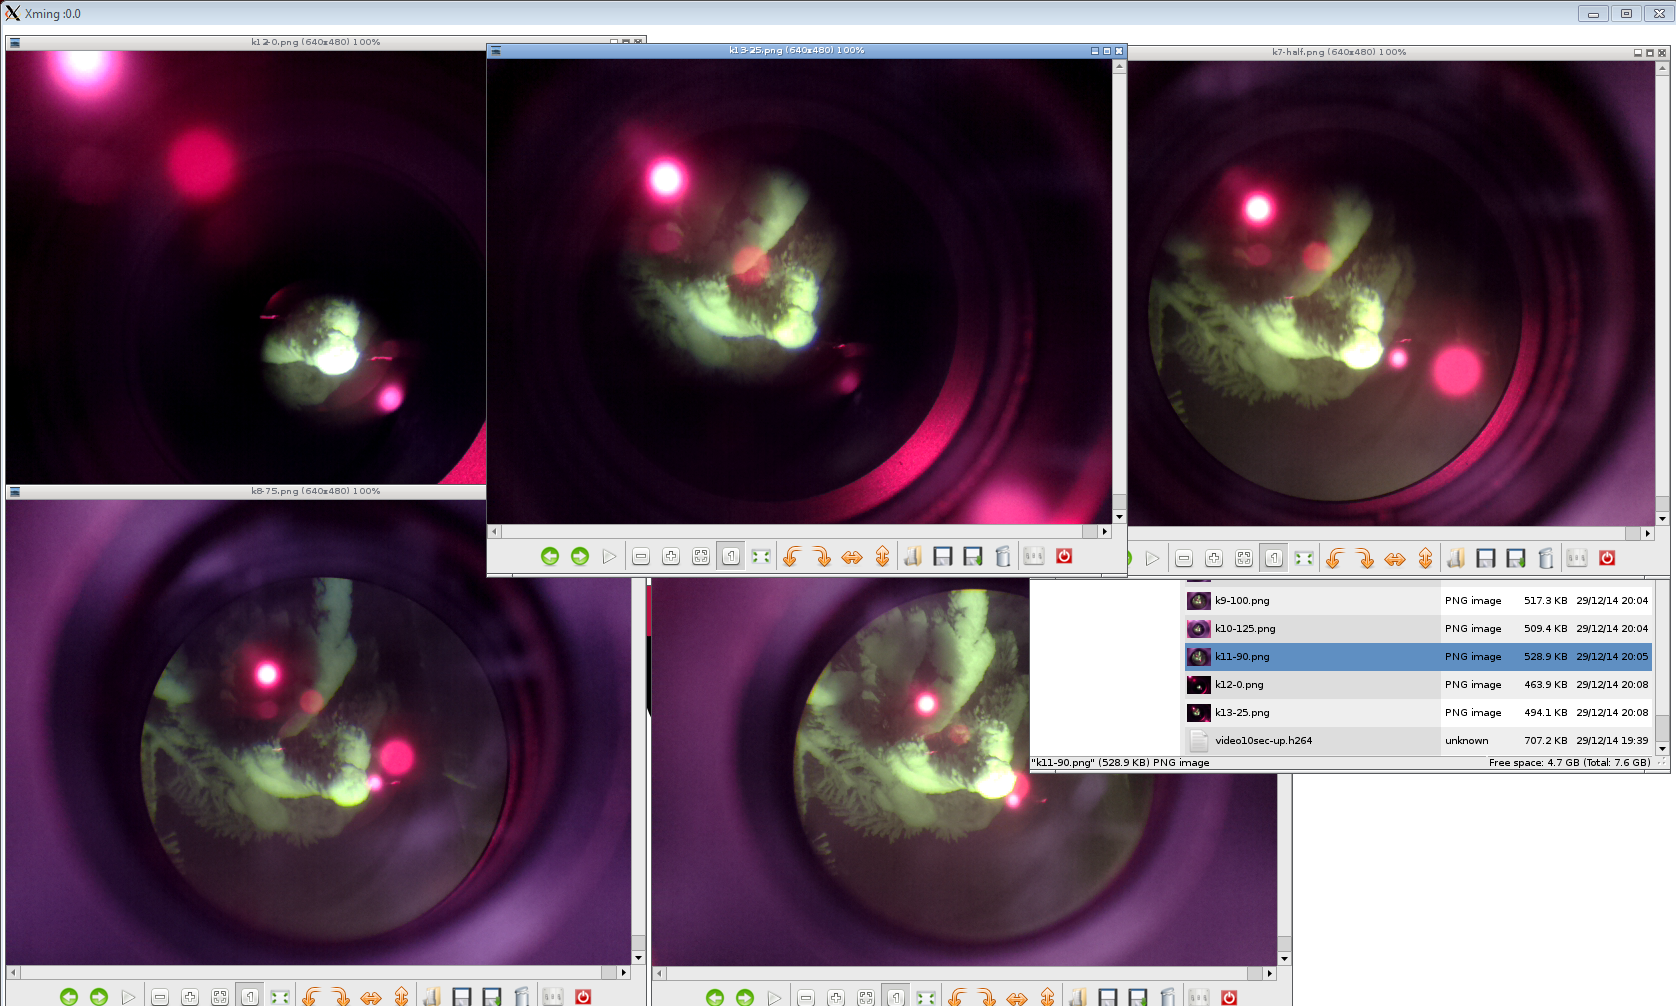
The XMing screenshot below shows lxsession look and feel when operating over the network. The taskmanager shows high CPU often, and reminds that the CPU is much weaker than in desktops…
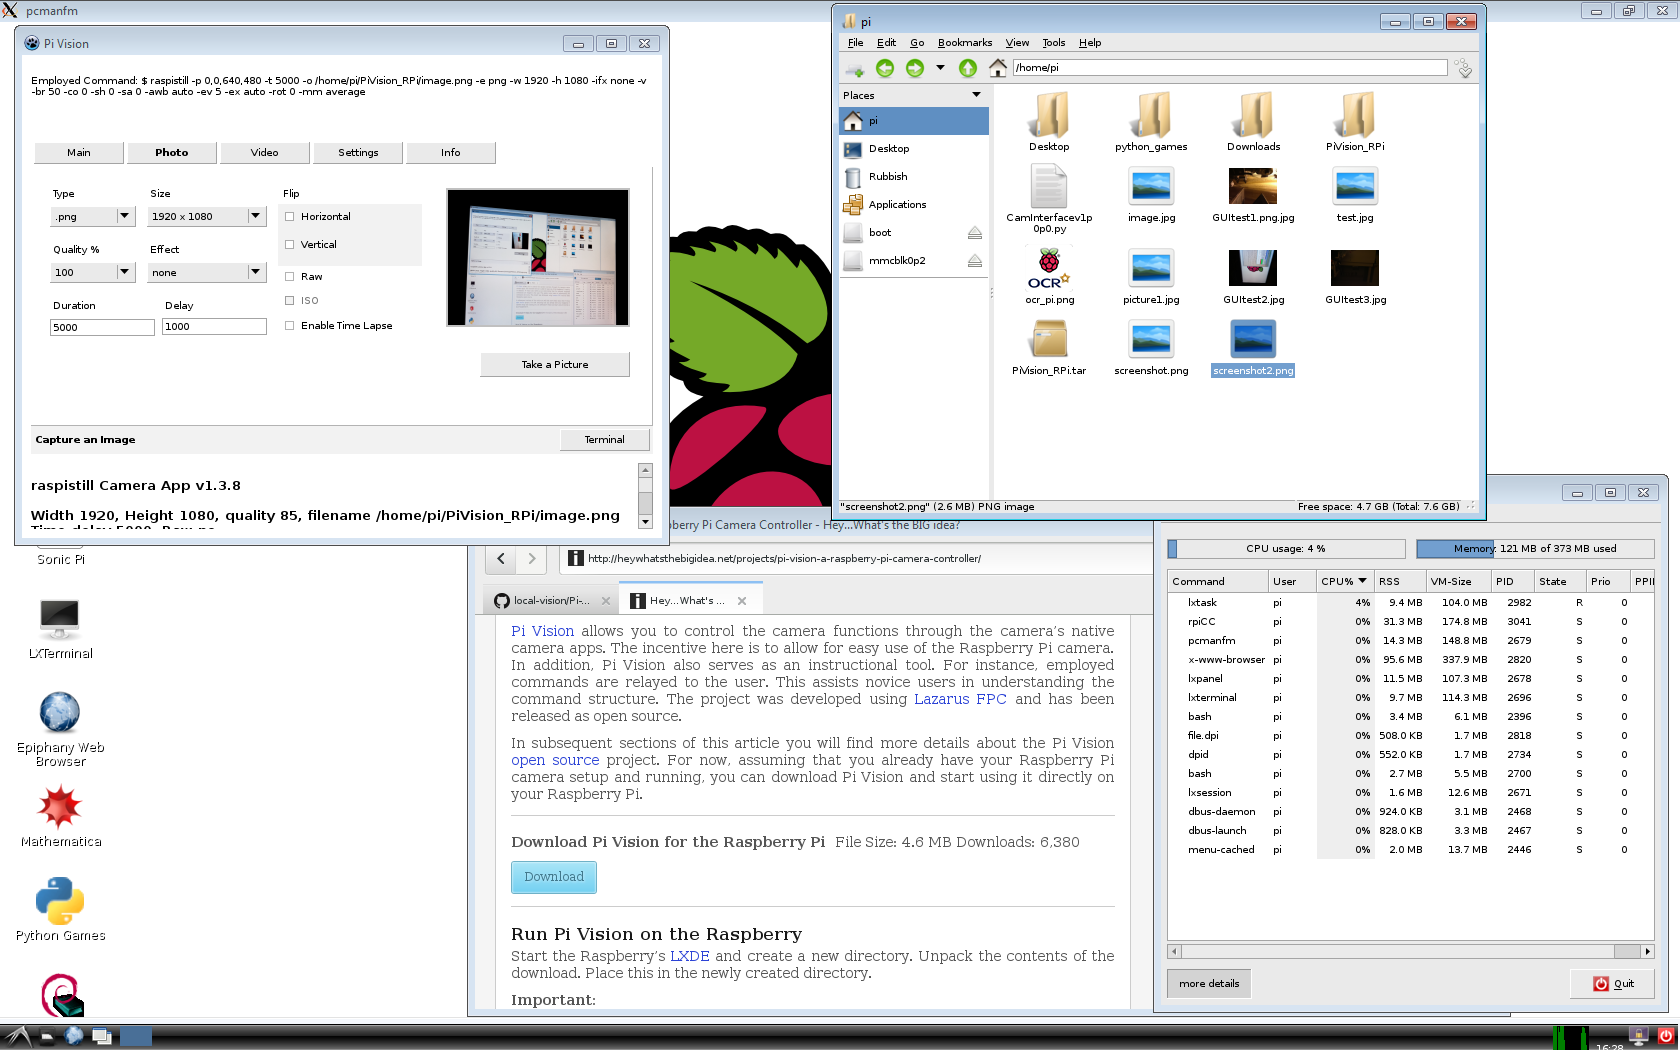
This tool is great and provides more options than the simple picamera example GUI. In addition it also shows the actual command line with parameters. I used this tool in order to see the parameters used, and then I moved to the command line versions since it provides more control.
Testing with command line
raspistill -n -br 50 -t 500 -o /home/pi/cmd45.png -e png -w 2592 -h 1944 -v
raspistill -n -t 500 -o /home/pi/zoomA4-21-90.png -e png -w 2592 -h 1944 -v -ss 10000 -br 50 -awb off -ISO 100
raspivid -t 4000 -o /home/pi/kuvat/video3.h264 -w 1920 -h 1080 -fps 5 -v -br 50
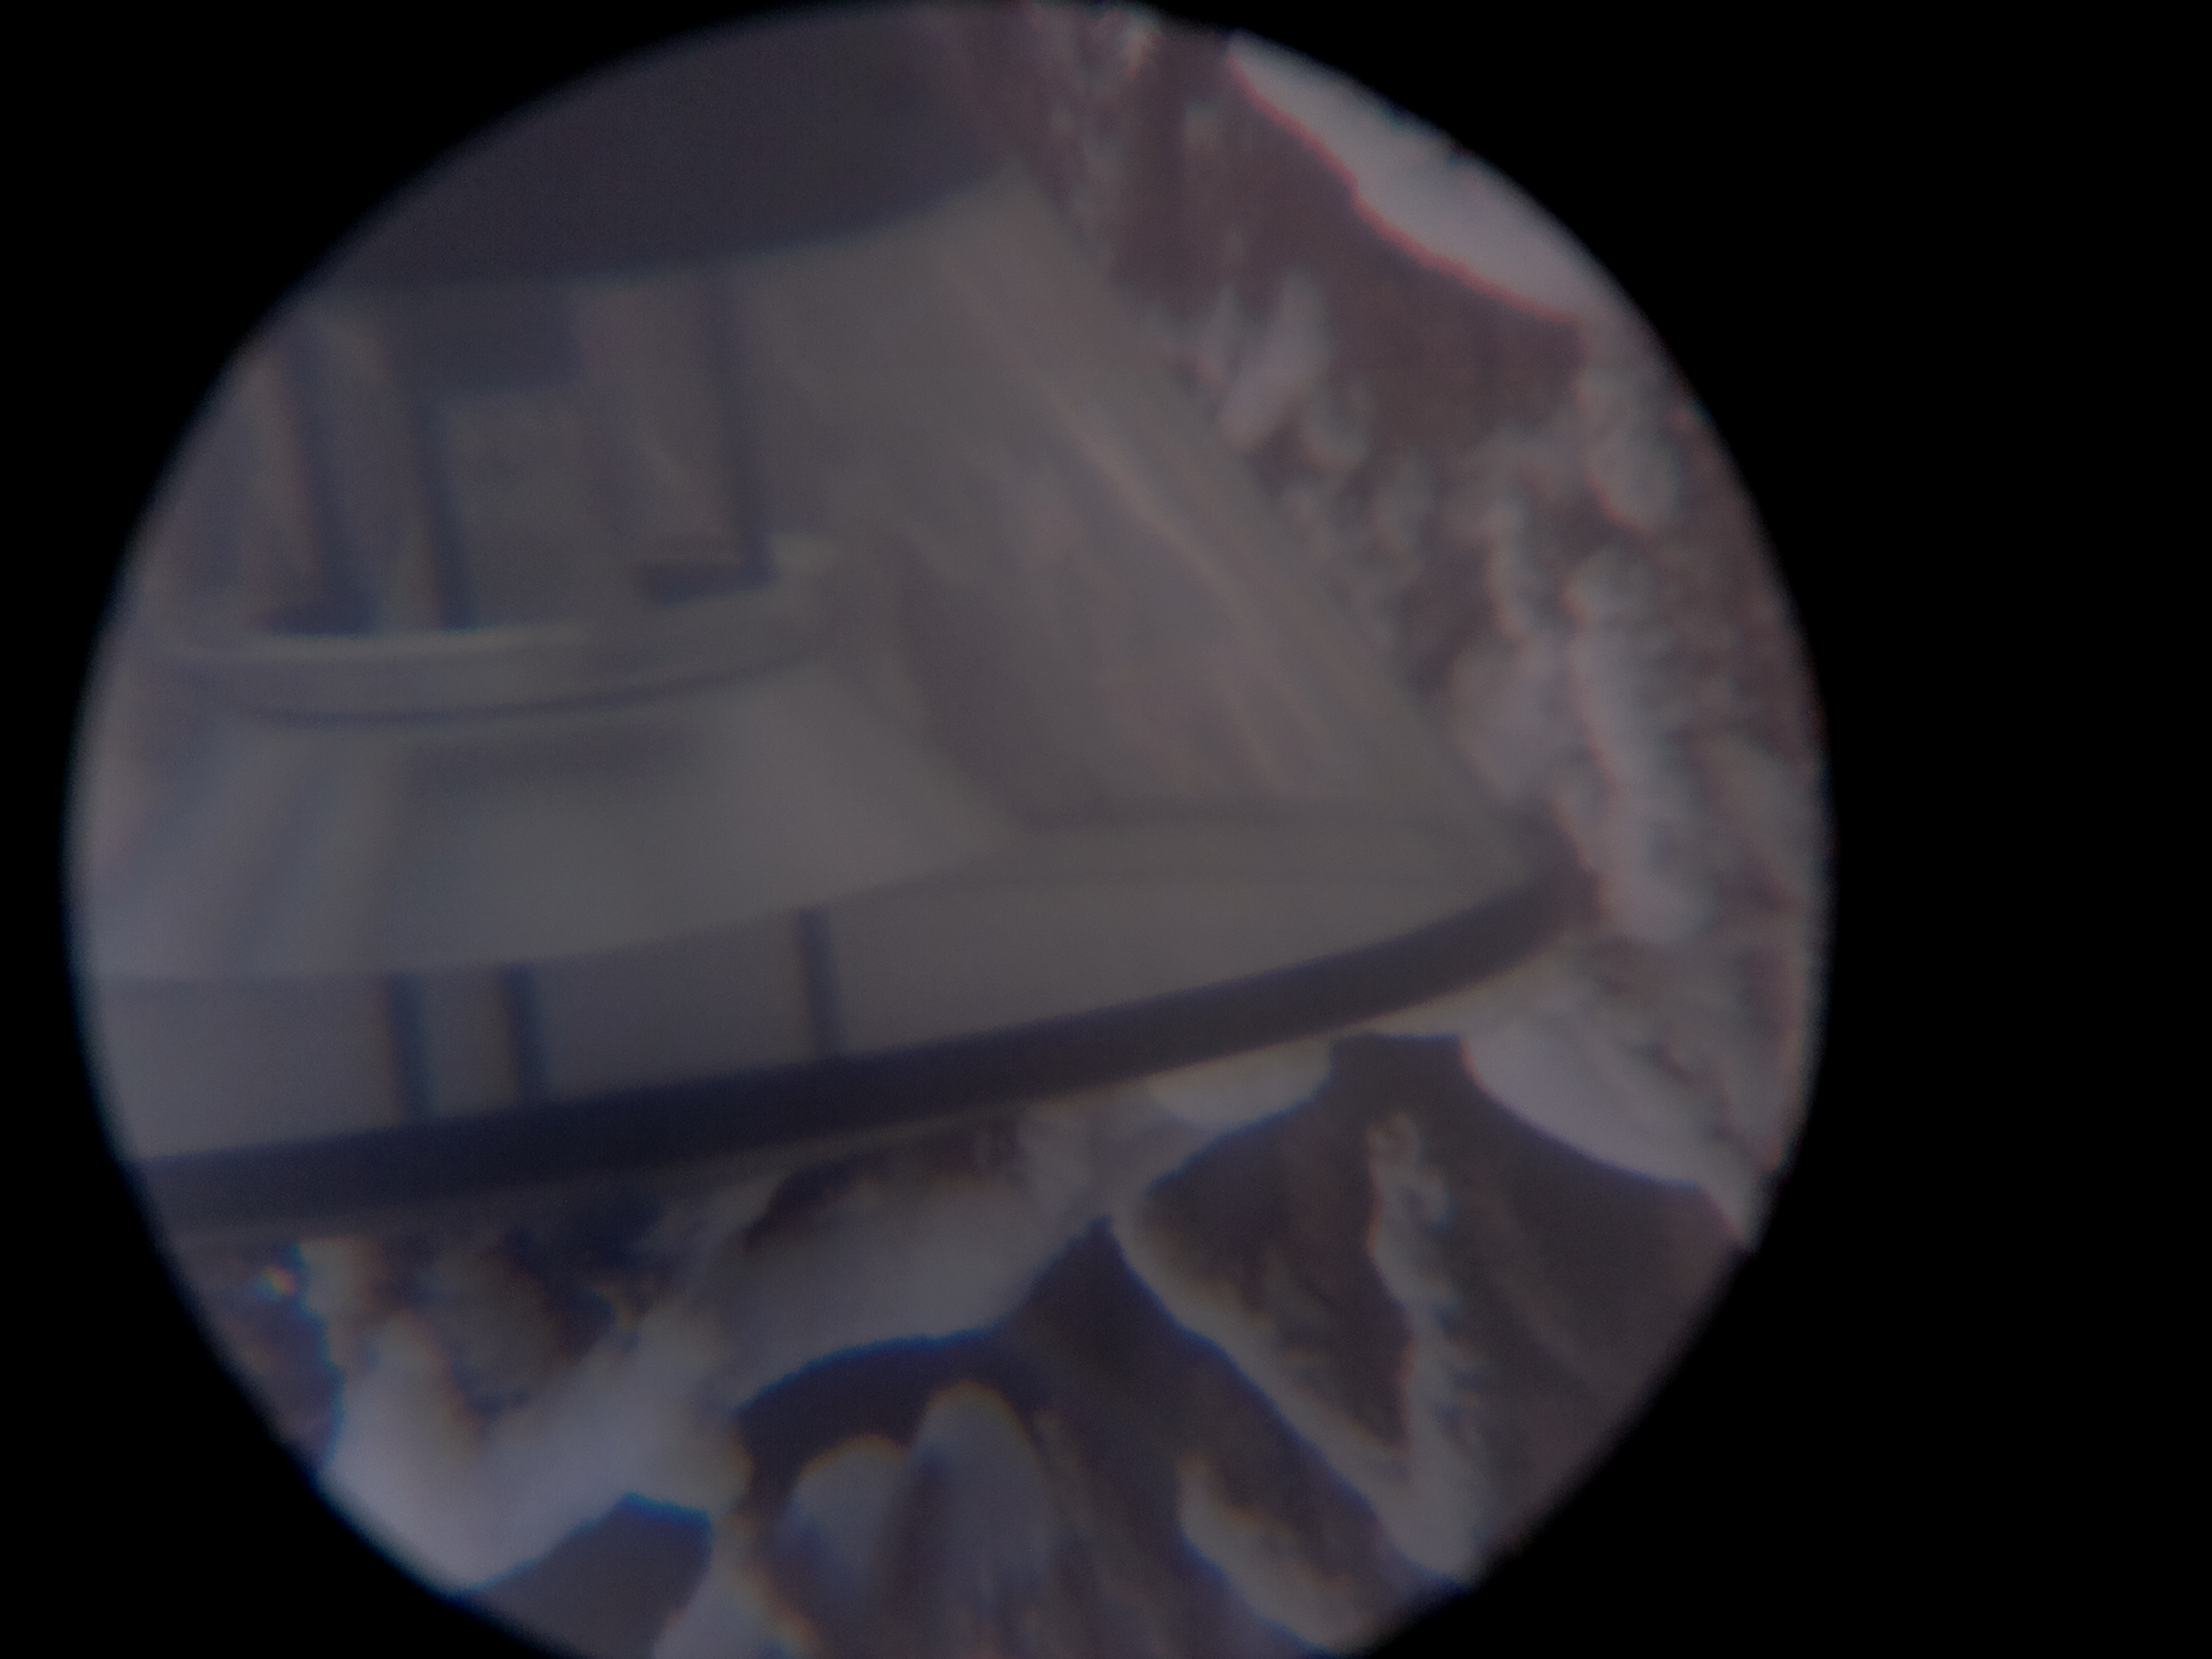
Open Issue
The both pictures below shows a horizontal stripe around Y=430. I do not know if the stripe is related to specific parameters (like resolution) used to capture photo, or if they are related to power supply or electric shielding or any other issue. This is something to investigate in the future…

Summary
The camera looks very promising. The first test shows good capabilities. My impression is that the pictures represent the view that I see when I look through the eyepiece. There is a lot of tuning left, but that’s part of the game. I still need to improve the mechanical parts and manual focussing too 🙂
For the next attempt to take sky photos I will use the preview mode to find the right position for the camera. Unless if I find a good way to stream the video to another laptop, since I might need another laptop to find the “targets” with Stellarium.
I see a lot of potential usages for small devices like Raspberry Pi. There has been interesting examples in the internet, things to test & try…
Other Links
Another case where RPI camera has been used with telescope.
Another case where RPI is used to remote control the telescope. And another.
Problems to get Stellarium working on RPI.